Guided Exercise: Contrasting Kubernetes Distributions
In this exercise you will prepare your development environment to use a local or remote Kubernetes instance.
Outcomes
You should be able to:
-
Install a local Kubernetes instance by using
minikubeon Linux, macOS or Windows. -
Register for using a remote Kubernetes instance by using
Developer Sandbox for Red Hat OpenShift.
Instructions
|
Note |
Installing a local Kubernetes cluster requires administrative privileges in your development workstation. If you do not have administrative privileges then jump directly to Using a Developer Sandbox for Red Hat OpenShift as a remote Kubernetes cluster to use a remote Kubernetes cluster. |
Deploying a fully developed, multi-node Kubernetes cluster typically requires significant time and compute resources. With minikube, you can quickly deploy a local Kubernetes cluster, allowing you to focus on learning Kubernetes operations and application development.
minikube is an open source utility that allows you to quickly deploy a local Kubernetes cluster on your personal computer. By using virtualization technologies, minikube creates a virtual machine (VM) that contains a single-node Kubernetes cluster. VMs are virtual computers and each VM is allocated its own system resources and operating system.
The latest minikube releases also allow you to create your cluster by using containers instead of virtual machines. Nevertheless, this solution is still not mature, and it is not supported for this course.
minikube is compatible with Linux, macOS, and Windows.
To install minikube on your system, you will need:
-
An Internet connection
-
At least 2 GB of free memory
-
2 CPUs or more
-
At least 20 GB of free disk space
-
A locally installed hypervisor (using a container runtime is not supported in this course)
Before installing minikube, a hypervisor technology must be installed or enabled on your local system. A hypervisor is software that creates and manages virtual machines (VMs) on a shared physical hardware system. The hypervisor pools and isolates hardware resources for VMs, allowing many VMs to run on a shared physical hardware system, such as a server.
1) Using minikube in Linux-based systems
In this course we support Fedora Linux 33 and 34, as well as Red Hat Enterprise Linux 8.
1.1) Installing a Hypervisor on Linux
The preferred hypervisor for Linux systems is kvm2. minikube communicates with the hypervisor using the libvirt virtualization API libraries.
|
Note |
Prefix the following commands with |
Use your system package manager to install the complete set of virtualization libraries:
[root@host ~]# dnf install @virtualization
or select the minimum set of required libraries
[root@host ~]# dnf install qemu-kvm libvirt libvirt-python libguestfs-tools virt-install
Start the libvirtd service:
[root@host ~]# systemctl start libvirtd
...output omitted...
[root@host ~]# systemctl enable libvirtd
...output omitted...
1.2) Installing minikube on Linux
There are three alternatives to install minikube in a Linux system:
-
If your system contains a package manager or software manager including
minikube, then use it and verify the version matches the minimum requirements.
[root@host ~]# dnf install minikube
-
If the repositories for your package manager do not include an appropriate version for
minikube, then go to https://github.com/kubernetes/minikube/releases and download the latest release matching your operating system.
For Debian-based systems, download the file minikube_VERSION_[amd64|arm64|armhf|ppc64el|s390x].deb and install it using the dpkg command:
[root@host ~]# dpkg -i FILE
For RPM-based distributions, download the file minikube-VERSION.[aarch64|armv7hl|ppc64le|s390x|x86_64].rpm and install it using the rpm command:
[root@host ~]# rpm -Uvh FILE
-
Alternatively, download the binary
minikube-linux-[amd64|arm|arm64]file and install using theinstallcommand:
[root@host ~]# install FILE /usr/local/bin/minikube
1.3) Starting Your minikube Cluster on Linux
To initialize your minikube cluster, use the minikube start command.
[root@host ~]# minikube start --driver=kvm2
  minikube v1.20.0 on Fedora 33
  Using the kvm2 driver based on user configuration
  Starting control plane node minikube in cluster minikube
  Creating kvm2 VM (CPUs=4, Memory=16384MB, Disk=20000MB) ...
  Preparing Kubernetes v1.20.2 on Docker 20.10.6 ...
    ▪ Generating certificates and keys ...
    ▪ Booting up control plane ...
    ▪ Configuring RBAC rules ...
  Verifying Kubernetes components...
    ▪ Using image gcr.io/k8s-minikube/storage-provisioner:v5
  Enabled addons: storage-provisioner, default-storageclass
  Done! kubectl is now configured to use "minikube" cluster and "default" namespace by default
|
Note |
To set the default driver, run the command |
2) Using minikube on macOS systems
This course supports macOS Big Sur (version 11.3.1) and later minor updates.
2.1) Installing a Hypervisor on macOS
Despite Docker being the preferred installation method in macOS, current minikube versions do not support all the features required for this course when running the docker driver (to be precise, ingress add-on is not yet supported). For this reason, we are using the Oracle VM VirtualBox hypervisor for running the virtual machines needed to support minikube on macOS.
Oracle VM VirtualBox is a free and open source hypervisor available for macOS systems. To install Oracle VM VirtualBox:
-
Download the latest version of VirtualBox for OS X hosts from https://virtualbox.org/wiki/Downloads
-
Open the downloaded
dmgfile and follow the onscreen instructions to complete the installation.
|
Note |
Network connectivity might be temporarily lost while VirtualBox installs virtual network adapters. A system reboot can also be required after a successful installation. |
Alternatively, if the brew command is available in your system, then you can install VirtualBox using the brew install command.
host:~ root# brew install virtualbox
2.2) Installing minikube on macOS
To install minikube on macOS, download from https://github.com/kubernetes/minikube/releases the appropriate file for your architecture: minikube-darwin-amd64 or minikube-darwin-arm64.
Then open a terminal window, change to the directory where you downloaded the installer and use the install command with administrator privileges to run the installer. Make sure you install minikube in a folder in your system path, such as /usr/local/bin/minikube
host:~ root# cd Downloads
host:~ root# sudo install _FILE /usr/local/bin/minikube
This places the minikube executable in /usr/local/bin/minikube.
Apple notarizing features forbid running files downloaded from the internet unless authorized. If you try to run the minikube command then you will get a "minikube" cannot be opened because the developer cannot be verified message, and the application will be terminated.
To authorize the minikube application, use the xattr command with administrative privileges with the following options:
host:~ root# sudo xattr -r -d com.apple.quarantine /usr/local/bin/minikube
Verity that now you can execute the minikube command:
host:~ root# minikube version
minikube version: v1.20.0
commit: c61663e942ec43b20e8e70839dcca52e44cd85ae
Your output can differ, but must show the available version and the commit it is based on.
2.3) Starting Your minikube Cluster on macOS
To initialize your minikube cluster, use the minikube start command.
host:~ root# minikube start --driver=virtualbox
?  minikube v1.20.0 on Darwin 11.3.1
✨  Using the virtualbox driver based on user configuration
?  Starting control plane node minikube in cluster minikube
?  Creating virtualbox VM (CPUs=4, Memory=16384MB, Disk=20000MB) ...
?  Preparing Kubernetes v1.20.2 on Docker 20.10.6 ...
    ▪ Generating certificates and keys ...
    ▪ Booting up control plane ...
    ▪ Configuring RBAC rules ...
?  Verifying Kubernetes components...
    ▪ Using image gcr.io/k8s-minikube/storage-provisioner:v5
?  Enabled addons: storage-provisioner, default-storageclass
?  Done! kubectl is now configured to use "minikube" cluster and "default" namespace by default
|
Note |
To set the default driver, run the command |
3) Using minikube on Windows
In this course we support Windows 10 Pro and Enterprise versions.
3.1) Installing a Hypervisor on Windows
There are several hypervisors available for Windows systems, including Oracle VM VirtualBox and Microsoft Hyper-V.
|
Warning |
System driver conflicts might occur if more than one hypervisor is installed or enabled. Do not install or enable more than one hypervisor on your system. |
- Oracle VM VirtualBox installation
-
Oracle VM VirtualBox is a free, open source hypervisor. As the original driver for
minikube, Oracle VM VirtualBox provides the most stability for Microsoft Windows 10 users.-
Download the latest version of VirtualBox for Windows Hosts from https://virtualbox.org/wiki/Downloads
-
Open the downloaded VirtualBox executable and follow the onscreen instructions to complete the installation.
-
|
Note |
Network connectivity might be temporarily lost while VirtualBox installs virtual network adapters. A system reboot can also be required after a successful installation. |
- Enabling Microsoft Hyper-V
-
Microsoft Hyper-V is a built-in hypervisor available on modern 64-bit versions of Microsoft Windows 10 Pro, Enterprise, and Education editions. Enabling Microsoft Hyper-V can be accomplished through PowerShell or by adjusting system Settings.
Refer to Microsoft Hyper-V documentation for system and hardware requirements.
-
Via PowerShell
-
Launch a PowerShell console as Administrator.
-
In the console window, run the following command:
PS C:\> Enable-WindowsOptionalFeature -Online -FeatureName Microsoft-Hyper-V -All
-
Restart your system when prompted to finish the installation process.
-
-
Via Settings
-
In the search box on the taskbar, type Programs and Features, and select it from the search results.
-
Select Turn Windows features on or off from the list of options under Control Panel Home.
-
Select Hyper-V and click
OKto begin the installation. -
Restart your system when prompted to finish the installation process.
-
With Microsoft Hyper-V successfully enabled, create an external virtual switch to grant minikube access to your physical network.
-
Open a PowerShell console as Administrator.
-
Determine the name of the network adapter, such as Wi-Fi or Ethernet, to use by running
Get-NetAdapter. -
Create an external virtual switch named minikube that uses the selected network adapter and allows the management operating system to share the adapter:
PS C:\> New-VMSwitch -name minikube -NetAdapterName <AdapterName> -AllowManagementOS $true
-
Restart your system to clear out potential routing problems.
3.2) Installing minikube on Windows
With a hypervisor installed, your system is now ready to begin the minikube installation process.
-
Download the stand-alone
minikubeWindows installer from https://github.com/kubernetes/minikube/releases -
Open the downloaded
minikube-installer.exeto begin the guided installation process.
|
Note |
If you executed the |
3.3) Starting Your minikube Cluster on Windows
To initialize your minikube cluster, use the minikube start command.
To use the Microsoft Hyper-V driver, provide the --driver=hyperv option to minikube:
PS C:\> minikube start --driver=hyperv
?  minikube v1.20.0 on Microsoft Windows 10 Enterprise 10.0.18363 Build 18363
✨  Using the hyperv driver based on user configuration
?  Starting control plane node minikube in cluster minikube
?  Creating hyperv VM (CPUs=4, Memory=16384MB, Disk=20000MB) ...
?  Preparing Kubernetes v1.20.2 on Docker 20.10.6 ...
    ▪ Generating certificates and keys ...
    ▪ Booting up control plane ...
    ▪ Configuring RBAC rules ...
?  Verifying Kubernetes components...
    ▪ Using image gcr.io/k8s-minikube/storage-provisioner:v5
?  Enabled addons: storage-provisioner, default-storageclass
?  Done! kubectl is now configured to use "minikube" cluster and "default" namespace by default
To use the Oracle VM VirtualBox driver, provide the --driver=virtualbox option to minikube:
PS C:\> minikube start --driver=virtualbox
?  minikube v1.20.0 on Microsoft Windows 10 Enterprise 10.0.18363 Build 18363
✨  Using the virtualbox driver based on user configuration
?  Starting control plane node minikube in cluster minikube
?  Creating virtualbox VM (CPUs=4, Memory=16384MB, Disk=20000MB) ...
?  Preparing Kubernetes v1.20.2 on Docker 20.10.6 ...
    ▪ Generating certificates and keys ...
    ▪ Booting up control plane ...
    ▪ Configuring RBAC rules ...
?  Verifying Kubernetes components...
    ▪ Using image gcr.io/k8s-minikube/storage-provisioner:v5
?  Enabled addons: storage-provisioner, default-storageclass
?  Done! kubectl is now configured to use "minikube" cluster and "default" namespace by default
|
Note |
To set the default driver, run the command |
4) Verifying your minikube installation
Use the minikube status command to validate that the minikube installation is running successfully:
[root@host ~]# minikube status
minikube
type: Control Plane
host: Running
kubelet: Running
apiserver: Running
kubeconfig: Configured
In case of errors, make sure you are using the appropriate driver during the installation, or refer to minikube Get Started documentation for troubleshooting.
5) Adding extensions
minikube comes with the bare minimum set of features. To add more features, minikube provides an add-on based extension system. Developers can add more features by installing the needed add-ons.
Use the minikube addons list command for a comprehensive list of the add-ons available and the installation status.
-
Installing the Ingress Add-on. For this course you must install the
ingressadd-on.
With your cluster up and ready, use the following command to enable the add-on:
[root@host ~]# minikube addons enable ingress
    ▪ Using image k8s.gcr.io/ingress-nginx/controller:v0.44.0
    ▪ Using image docker.io/jettech/kube-webhook-certgen:v1.5.1
    ▪ Using image docker.io/jettech/kube-webhook-certgen:v1.5.1
?  Verifying ingress addon...
?  The 'ingress' addon is enabled
Versions and docker images can vary in your deployment, but make sure the final validation is successful.
-
Installing the Dashboard add-on. The
dashboardadd-on is not required for this course but serves as a visual graphical interface if you are not comfortable with CLI commands.
Enable the dashboard add-on with the following command:
[root@host ~]# minikube addons enable dashboard
    ▪ Using image kubernetesui/dashboard:v2.1.0
...output omitted...
?  The 'dashboard' addon is enabled
Once the dashboard is enabled you can reach it by using the minikube dashboard command. This command will open the dashboard web application in your default browser.
Press Ctrl+C in the terminal to finish the connection to the dashboard.
6) Using a Developer Sandbox for Red Hat OpenShift as a Remote Kubernetes cluster
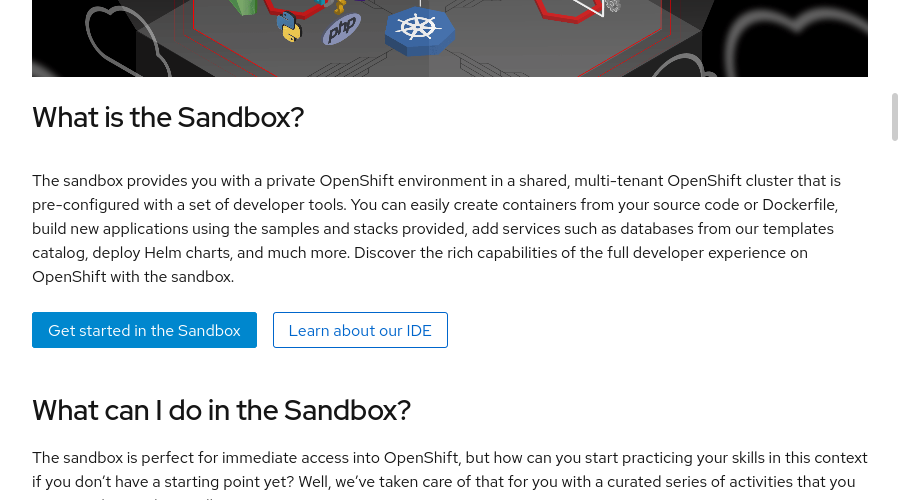
Developer Sandbox for Red Hat OpenShift is a free Kubernetes-as-a-Service platform offered by Red Hat Developers, based on Red Hat OpenShift.
Developer Sandbox allows users access to a pre-created Kubernetes cluster. Access is restricted to two namespaces (or projects if using OpenShift nomenclature). Developer Sandbox deletes pods after eight consecutive hours of running, and limits resources to 7 GB of RAM and 15 GB of persistent storage.
6.1) Create a Developer Sandbox account
Go to https://developers.redhat.com/developer-sandbox and click Get started in the Sandbox.
You need a free Red Hat account to use Developer Sandbox. Log in to your Red Hat account, or if you do not have one, then click Create one now. Fill in the form choosing a Personal account type, and then click CREATE MY ACCOUNT. You might need to accept Red Hat terms and conditions to use the Developer Program services.
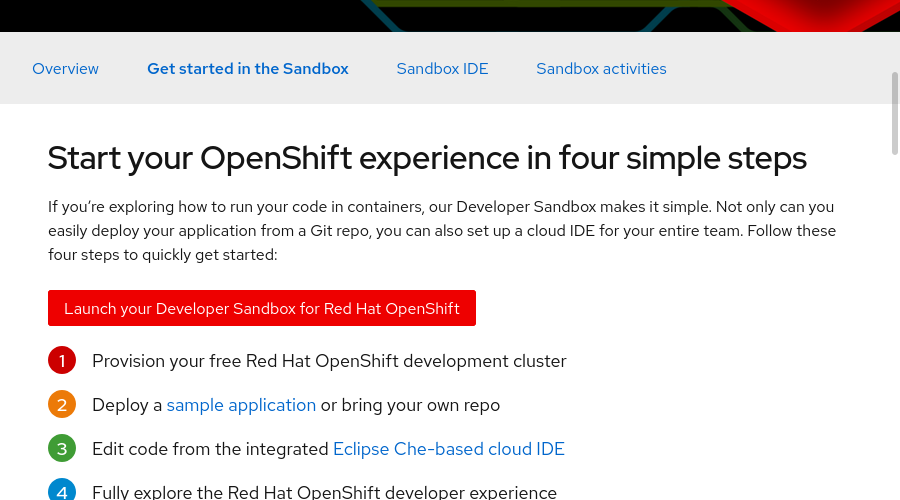
When the account is ready you will be redirected back to the Developer Sandbox page. Click Launch your Developer Sandbox for Red Hat OpenShift to log in to Developer Sandbox.
If you just created your account, then you might need to wait some seconds for account approval. You might need to verify your account via 2-factor authentication.
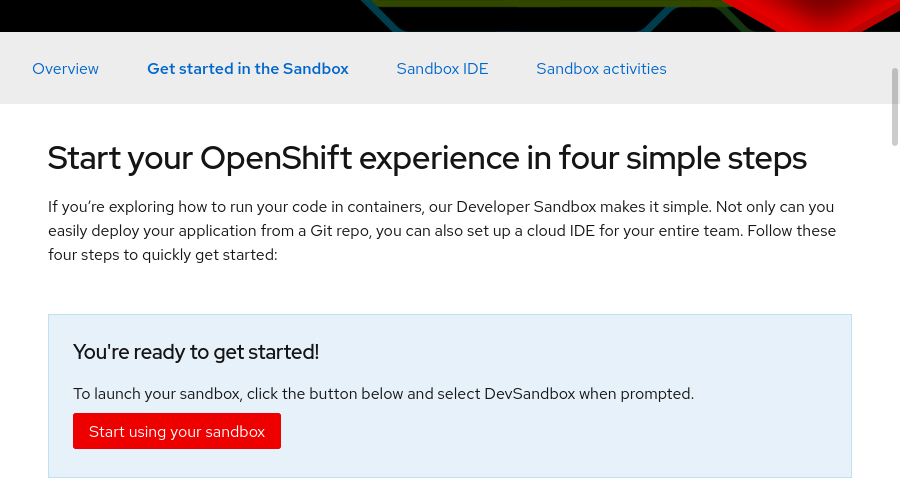
Once the account is approved and verified, Click Start using your sandbox. You might need to accept Red Hat terms and conditions to use the Developer Sandbox.
In the OpenShift log in form, click DevSandbox to select the authentication method.
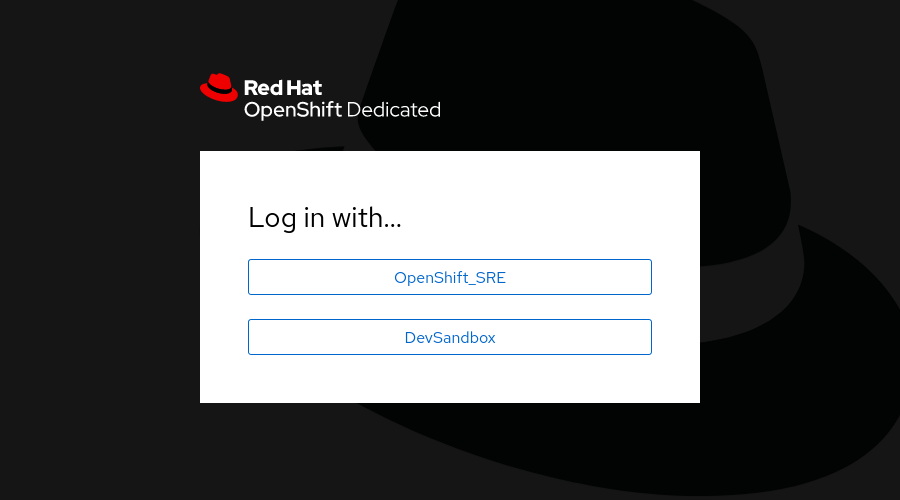
If requested, then log in using your Red Hat account credentials.
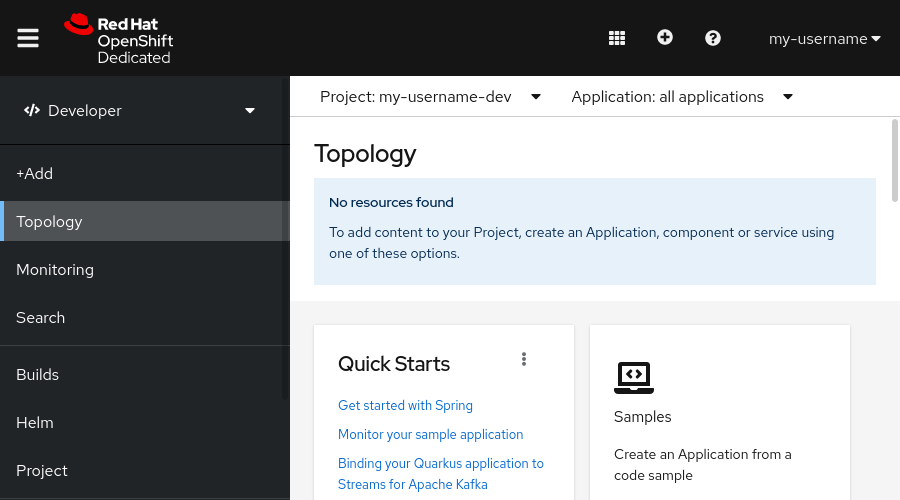
6.2) Start Using Developer Sandbox
The Kubernetes cluster and two namespaces are created for you. Only the username-dev and username-stage namespaces are available, and you can not create more.
7) Enabling external access to Ingress.
Some exercises require you to identify the external IP and hostname associated with your Ingress so you can access your application from outside the cluster.
7.1) External access to Minikube.
Routing traffic from your local machine to your Minikube Kubernetes cluster requires two steps.
First you must find the local IP assigned to your Ingress add on. The minikube ip command is the easiest way to find the ingress IP:
[user@host ~]$ minikube ip
192.168.99.103
Your IP will probably be different as it depends on your virtual environment configuration.
Second, you must declare a hostname for your ingress, and associate the hostname to the ingress IP. For this course, unless the hostname is already in use, you will declare hello.example.com as the hostname.
Despite this the association between the IP and the hostname is usually done using a DNS server, when using a local distribution such as Minikube it is much easier to simulate domain ownership by editing your local name resolution system.
In Linux and macOS systems, edit the /etc/hosts file with elevated privileges. You might use the sudo command or the su command to obtain elevated privileges. In Windows systems, edit the C:\Windows\System32\drivers\etc\hosts file with administrative privileges.
Add the following line to the bottom of the file and replace <IP-ADDRESS> with the IP address listed in the previous step.
<IP-ADDRESS> hello.example.com
|
Note |
If for any reason you need to delete and recreate your Minikube cluster, then review the IP address assigned to the cluster and update the hosts file accordingly. |
For accessing services in the cluster you will use the declared hostname and potentially any path associated to the ingress. So, if using the hello.example.com hostname and assuming the application is mapped to the path /myapp, then your application will be available in the URL http://hello.example.com/myapp.
7.2) External access to Developer Sandbox.
External access to Developer Sandbox is already prepared. The ingress controller in Developer Sandbox is pre-configured to listen to requests sent to any sub-domain for a hostname known as the wildcard domain. The wildcard domain is a configuration value set by administrators when creating the cluster.
To enable external access to a service you must provide a sub-domain for the wildcard domain, so first you must know the wildcard domain.
There are several approaches for finding the wildcard domain associated to your Developer Sandbox instance:
- Infer the wildcard domain from the Console URL
-
When you log into you Developer Sandbox account, you will be redirected to the OpenShift Console installed in the cluster. The URL for the OpenShift Console is of the form https://console-openshift-console.apps.WILDCARD-DOMAIN.
To get the wildcard domain, replace the
console-openshift-consolesubdomain withappsfrom the console URL. For example, the wildcard domain for the Console URL https://console-openshift-console.apps.sandbox.x8i5.p1.openshiftapps.com is apps.sandbox.x8i5.p1.openshiftapps.com. - Infer the wildcard domain from the API URL
-
In Guided Exercise: Connecting kubectl to your Cluster you will find instructions to identify the API URL for your Developer Sandbox cluster.
To get the wildcard domain, remove from the API URL the
https://, the:6443, and changeapitoapps. For example, the wildcard domain for the API URL https://api.sandbox.x8i5.p1.openshiftapps.com:6443 is apps.sandbox.x8i5.p1.openshiftapps.com. - Infer from a dry-run route creation
-
If you are using a Linux or macOS system, you can use the
kubectlcommand to create arouteresource that contains an example URL and extract the hostname from it:[user@host ~]$ echo '{"apiVersion": "route.openshift.io/v1","kind": "Route","metadata": {"name": "example"},"spec": {"to": {"kind": "Service","name": "hello"}}}' | kubectl apply --dry-run=server -o jsonpath='{.spec.host}' -f - example-username-dev.apps.sandbox.x8i5.p1.openshiftapps.comTo get the wildcard domain, remove the first part of the hostname, that is everything before the first period. For example, the wildcard domain for the hostname example-username-dev.apps.sandbox.x8i5.p1.openshiftapps.com is apps.sandbox.x8i5.p1.openshiftapps.com.
Once you know the wildcard domain for your Developer Sandbox cluster, use it to generate a sub-domain to be used by your services. Remember that sub-domains must be unique for the shared Developer Sandbox cluster. One method for creating a unique sub-domain is to compose it in the format of <DEPLOYMENT-NAME>-<NAMESPACE-NAME>.<WILDCARD-DOMAIN>.
So, if using the apps.sandbox.x8i5.p1.openshiftapps.com wildcard domain and assuming a deployment named hello in a namespace named username-dev then you can compose your application hostname as hello-username-dev.apps.sandbox.x8i5.p1.openshiftapps.com. Assuming the application is mapped to the path /myapp, then your application will be available in the URL http://hello-username-dev.apps.sandbox.x8i5.p1.openshiftapps.com/myapp.
|
Note |
minikube Get Started documentation Install and Set Up kubectl on Windows |