Intro to Open Source - Lesson 5 - Fundamentals of Contributing Code
Welcome to the penultimate lesson of this learning path! Today we will discuss the fundamentals of contributing code. In particular, we will walk you through the full process: picking an issue, coding a fix for the issue, opening a pull request, receiving feedback on the pull request, and getting your code merged.
We would like to note that the contents of this article are adapted and expanded from our earlier blog post on the Knative blog. That being said, we hope that in the more focused context of this lesson we will be able to give you more information here. With that disclaimer out of the way, let’s dive right into this lesson!
Picking an Issue to Work On
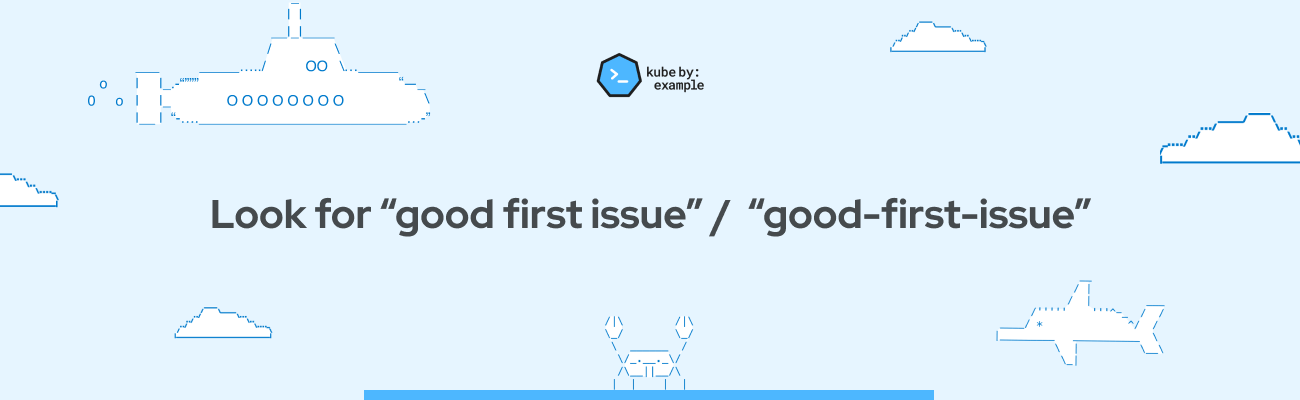
The first step to making a code contribution is to pick an issue to work on. As a new contributor you will likely want to find a suitably beginner-friendly issue (unless you’re feeling brave!). A common way to do this is to filter the issues by their “label” to find ones labeled “good first issue” or “good-first-issue”. These have been specifically set aside by the maintainers of the project as beginner friendly, and will serve as a good introduction to the project. We recommend sticking to these issues for your first few contributions to a community, before branching out into non-”good first issue” issues.
When looking at an issue, it is important to read through all of the comments and discussions on the issue. These will give you more information about what specifically is required in the issue, if anyone is currently working on it, and potentially some hints on how to get started. This information is invaluable! Also, if you have any questions after reading the discussion, add a comment to the issue to get clarification.
As we alluded to above, you will want to verify that no one is working on the issue. In GitHub, there is an “assignee” field on the issue, where you can see if someone has assigned the issue to themself. This is often a good starting point to see if someone is working on it, although they may have not assigned themself. You should also check if there is a linked pull request (PR), as that is a very definitive signal that someone has worked on the issue.
However, keep in mind that just because someone opened a PR or assigned themself the issue, they may not still be working on the issue. If there doesn’t seem to have been any activity for a few weeks, feel free to ask on the issue if they are still working on it. If they don’t reply or say that they aren’t working on it anymore, you’re good to go! If not, time to move on and look for another issue.
Once you have found an issue which interests you and which does not have anyone actively working on it, it’s time to claim it as yours! Generally speaking, you won’t be able to directly assign yourself to an issue on the repository where the issue is. However, you can always leave a comment asking to be assigned to the issue. We recommend @ mentioning the person who opened the issue (if they are a maintainer of the project), or the person who triaged the issue. One of them will be able to assign you. In addition, many projects have bots which you can use to assign an issue to yourself. For example, in Knative, you can just comment “/assign” and Prow will assign the issue to you. Congrats, you now have an issue to work on!
Coding a Fix for the Issue
With an issue in hand, it’s time to start the coding process! This is where all of those prerequisite skills we mentioned in the previous lesson come in handy. You should already have a working development environment, but if you don’t, you should go to the README.md or DEVELOPMENT.md or CONTRIBUTING.md file on the repository you are contributing to and follow the instructions there to set up your development environment. It may also be helpful to refer to the resources we mentioned in the previous lesson, and to follow the steps to ask a good question if you get stuck.
In your working environment, you will want to create a new branch from the main branch of your fork. If you don’t know what that means, or how to do it, please refer to the git instructions in the previous lesson. This new branch you create will house all of the work you do for this issue, and it is important that this branch is not the main/master branch. In fork-based development you never want to directly commit to your main/master branch. Instead, you want to make all of your changes on a separate branch called a feature branch. This is because git wants the history on two “matching” branches, in this case your main branch and the upstream repository’s main branch to not diverge from each other. So, if you have made changes directly on your main branch and want to get some changes made to the upstream repo’s main branch, you will have to discard your changes. To avoid this problem, always use a new feature branch when working on a new issue.
As you work on your code, your objective is twofold: to have your code “fit in” with the rest of the code in the project, and to have your code solve your issue. These are both of equal importance, although the second objective is often more immediately obvious. When we say that your code should fit in with the rest of the project, we mean to align the style of your code with the rest of the project. If someone looks at the project in two months, they should not be able to tell which code you wrote and which code someone else wrote just from looking at the good. A good way to do this is to make sure that you match on the patterns being employed in the repository. If variables are named with camelCase use camelCase, if people use only functions and no classes, don’t introduce classes, if all of the code is tested make sure you write tests for your code as well. This will greatly improve the quality of your code and drastically reduce the number of changes you will have to make before your code is accepted into the project (more on this in a bit).
Whenever a “piece” of your issue is completed, you should make a commit. This is a concept called atomic commits, and it means that you make commits for the smallest complete changes. Rather than making one commit at the end of a large feature saying “the feature works”, try to make small commits for every completed step along the way. As you do this, make sure that you use descriptive commit messages for every commit you make. Rather than saying “fixed the bug”, say something more descriptive and specific to the changes you made. For example, “Added timeout to prevent loop from blocking” would be a good commit message if you had solved a bug where the loop was blocking by adding a timeout to some operation. Note that come communities may require you to make standardized commit messages, conforming to a convention like conventional commits.
Once you think that your changes are good and complete, it’s time to do some quick checks before opening a pull request on GitHub. For starters, follow the instructions provided in your project for how to build the code. It should at the very least compile/build! Next, run at least the unit tests, but ideally some or all of the end to end tests as well for your project. You should be able to find documentation on how to run these tests in the README.md, CONTRIBUTING.md, or DEVELOPMENT.md files in the repository, but if you can’t find any ask the maintainers of the project how to run them. If the tests all pass, you’re good to go - continue to the next step and open your pull request. If not, no worries! It’s time for you to debug your change and hopefully fix it. If you get stuck at any point in this debugging process, ask a maintainer of your project for some help! If there is a slack channel or similar, this would be a great place to ask, but we personally think that a draft pull request is the best way to ask. You’ll learn more about these in the next section.
.
Opening a Good Pull Request (PR)
With your changes working, or in a state where you would like to get some help/feedback on how to fix your changes, it’s time for you to open a pull request. This process is relatively simple, but there are a few things you should keep in mind. The basic steps of how to open a pull request can be found here.
A key step is when you write the title for your PR. Similar to your commit messages, make sure that your PR title is descriptive of your change. For example, don’t say “fixed bug”, say “Fix channel finalizer logic”. Notice that while this title is more descriptive of what you have done, it isn’t too long. You want to strike a nice balance between descriptiveness and brevity. If you are opening a draft PR, you will want to add something like “WIP:” to the start of the PR title. For example, instead of “Fix channel finalizer logic”, you could title the PR “WIP: Fix channel finalizer logic”.
Similar to the title, you want to write a good description for your PR. This is where you can go into more detail about what you have changed and why. Try and give a high-level summary of all of the changes you have made, and the reasoning behind those changes. If you are resolving a specific issue on GitHub, added the text “Fixes #issue_number” to the PR description, where you replace issue_number with the number of the issue. For example, if I am fixing issue 1000 with my PR, then I would write “Fixes #1000”. In addition, if you made changes to some form of UI in the PR, it may be useful to attach screenshots of what the UI now looks like. Any other information you think will be helpful to someone reviewing your changes should also be included.
This may sound like a lot to remember, but many communities will have templates that show up in the description when you open a PR. If they have a template, all you need to do is follow it as best as you can! However, if you want to mention something that isn’t in the template, feel free to add it in.
Once you feel you have made a good title and description, take a few minutes to look at the PR you are opening. There is a “Preview” tab on GitHub, where you can see what the description will look like when the markdown text is rendered. Similarly, you can scroll down and see the changes you made to the code in this PR. Take a quick look at the code and make sure you are happy with the changes, and that you didn’t leave any extra print statements or commented out code. If the PR looks good to you, you are good to open it!
Receiving Feedback Constructively on Your PR
After your PR is opened, you will receive feedback. Some of this feedback will likely be in the form of the results of automated tests run on your changes, and the rest will be from human reviewers of your code. Regardless of whether the feedback is coming from the code review process or from the automated tests, it is your responsibility to address the feedback and make all necessary changes.
For the automated tests, if they are failing please take a look at them and try and figure out why they are failing. GitHub will provide some logs for you to view what errors are causing the tests to fail. Once you figure it out, all you need to do is make a new commit on your branch and push those changes, the PR will automatically update to show your new commit. If you can’t figure out why the tests are failing, this would be a good time to ask the maintainers for some help. Additionally, tests are sometimes “flaky”, and behave inconsistently between different runs. If you are confident that you did not cause the test failures with your changes, it may be worth re-running the tests.
For the feedback you receive from the maintainers, keep in mind that it is not personal, it is feedback on the code. While it may be frustrating when reviewers suggest changes to what you perceive as functioning code, remember that they are just trying to improve the overall quality of the project. So, instead of getting upset, take this as a learning opportunity! This feedback is showing you a way you can improve your code quality, so use it to improve your skills. If there is a reason why one of the changes they suggested won’t work, don’t hesitate to respond to their comment explaining why you believe the suggestion may not be feasible. However, unless such circumstances exist, try to incorporate all their proposed changes. This will lead to a productive and collaborative code review process.
Eventually, the tests will all be passing on your PR and you will have addressed all the feedback from the code review process. At this point, a maintainer will approve your PR, and they will merge your code into the project. Congratulations! Your code is now a part of the project, and you have successfully contributed code.
Tips and Tricks for Successful Code Contribution
If you follow the steps above, your code contributions will go well. However, we have a couple more miscellaneous tips and tricks to help make this process even smoother for you.
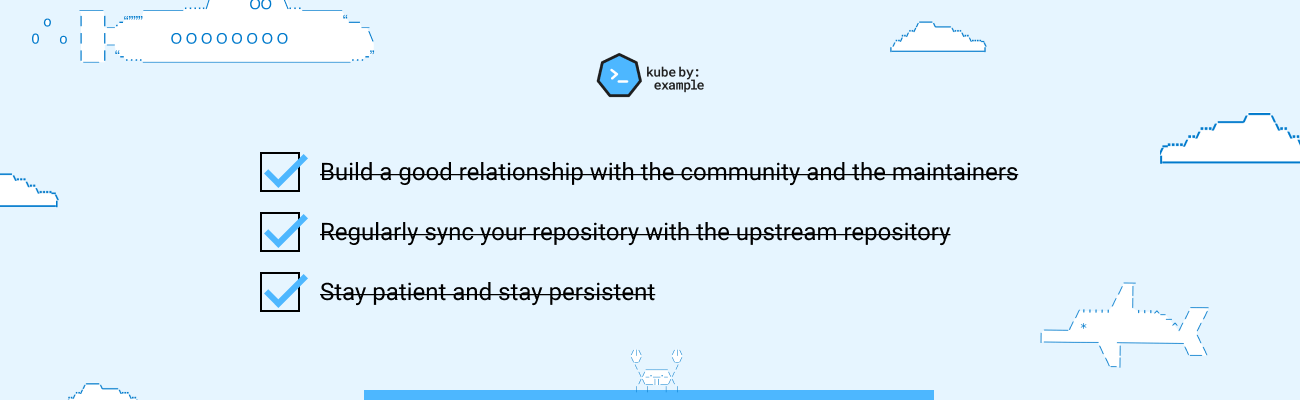
First of all, build a good relationship with the community and the maintainers. These people will be able to support you as you make your changes, and will also help you grow in your skills and involvement within the project and community. If you have a good relationship with them, they will likely help you with your problems more quickly.
Next, try to regularly sync your repository with the upstream repository. We recommend that at a minimum, you update your main branch to be synchronized with the upstream main branch once every issue. However, if you work on an issue for a long time, you may want to do this more frequently. One tool which can make this synchronization easier is git-util.
Finally, remember that when you are making open source contributions, you should be playing the long game! Stay patient, and stay persistent. Over time your skills and impact within the project will grow. As the old saying goes “Rome wasn’t built in a day”. Over time, you will become much better at the process of contributing code, and even though this may seem complicated and scary now, it will feel easy to you later.