Creating a Project
Let's create the basic Quarkus Hello World application and include the necessary qute extensions:
mvn io.quarkus:quarkus-maven-plugin:2.16.2.Final:create \
    -DprojectGroupId=org.acme \
    -DprojectArtifactId=qute \
    -Dextensions="quarkus-resteasy-qute,quarkus-vertx-web,quarkus-qute,quarkus-scheduler"
Note: The first time you create an app, new dependencies may be downloaded via maven and take a minute or so. This should only happen once, after that things will go even faster.
This will use the Quarkus Maven Plugin and generate a basic Maven project for you in the qute subdirectory and include the quarkus-resteasy-qute extension which includes the templating engine and integration with JAX-RS via RestEasy. We've also included a few other extensions we'll use later on.
pom.xml file. You will find the import of the Quarkus BOM, allowing you to omit to specify the specific version on the different Quarkus dependencies.
cd qute
Starting the Application
With the basics in place, start the application:
mvn compile quarkus:dev
Once the dependencies have finished downloading (again, this will only occur on the first compile), you'll see the running application:
__  ____  __  _____   ___  __ ____  ______
    --/ __ \/ / / / _ | / _ \/ //_/ / / / __/
    -/ /_/ / /_/ / __ |/ , _/ ,< / /_/ /\ \
--\___\_\____/_/ |_/_/|_/_/|_|\____/___/
INFO  [io.quarkus] (Quarkus Main Thread) qute 1.0.0-SNAPSHOT on JVM (powered by Quarkus x.xx.x.Final) started in x.xxxs. Listening on: http://0.0.0.0:8080
INFO  [io.quarkus] (Quarkus Main Thread) Profile dev activated. Live Coding activated.
INFO  [io.quarkus] (Quarkus Main Thread) Installed features: [camel-core, camel-vertx-websocket, cdi, qute, resteasy, resteasy-qute, scheduler, smallrye-context-propagation, vertx]

--
Tests paused, press [r] to resume, [h] for more options>
Note the amazingly fast startup time! The app is now running "locally" on your machine.
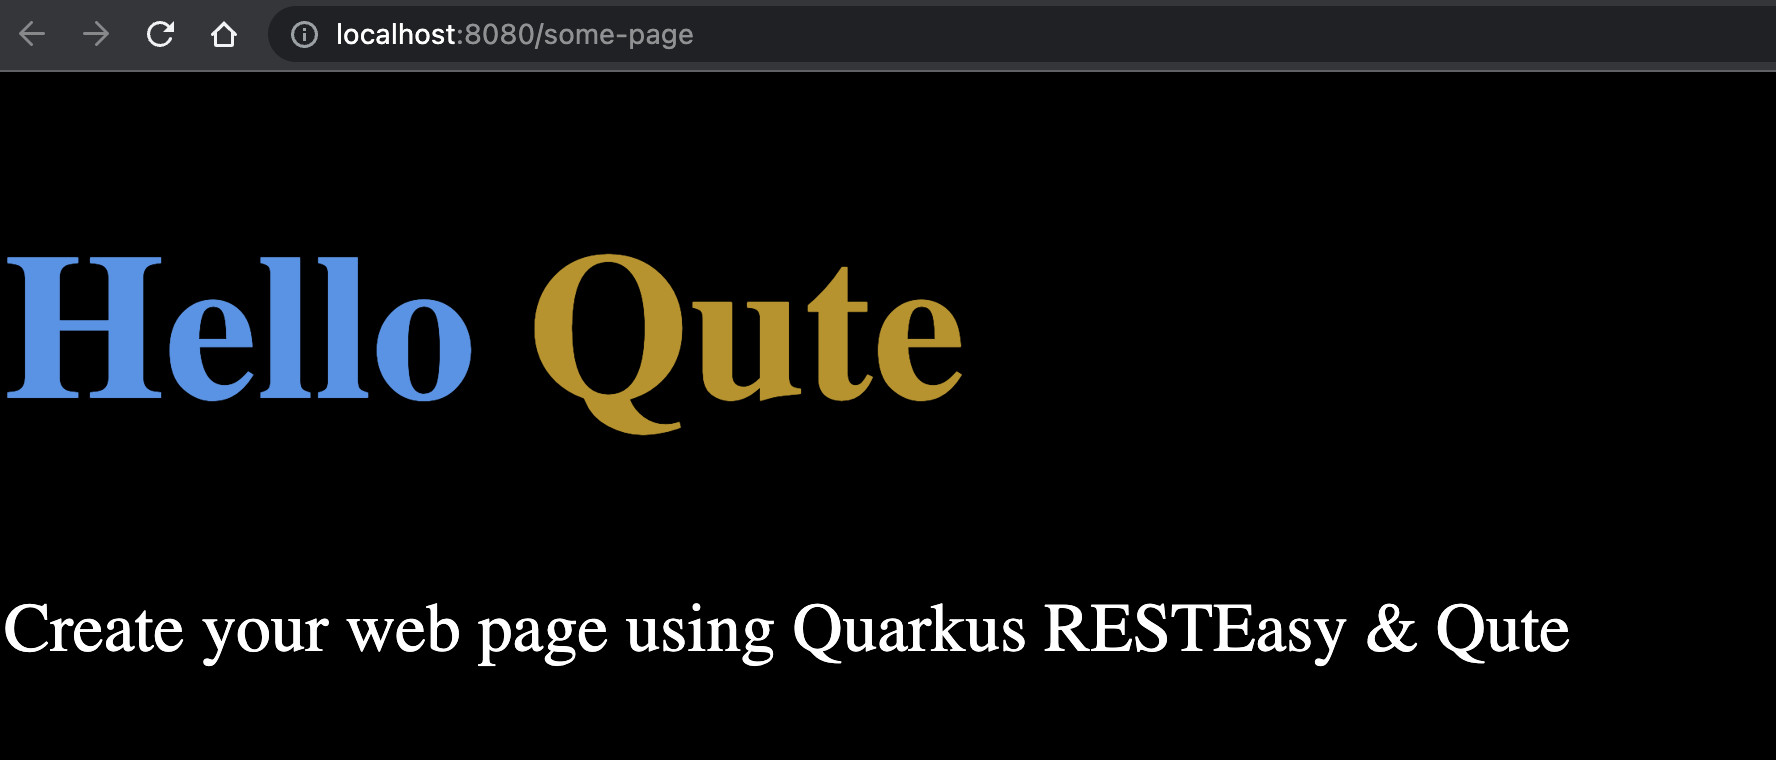
Test that the app is running by opening a new web browser and accessing the HTML for the page named Qute Sample Page:
http://localhost:8080/some-page
You'll get the following page:
Creating a Basic Template
Let's start with a very simple template. Create a new templates file, hello.txt in src/main/resources/templates directory with the contents:
Hello {name}!
The snippet {name} is a value expression that is evaluated when the template is rendered.
Note: By default, all files located in thesrc/main/resources/templatesdirectory and its subdirectories are registered as templates. Templates are validated during startup and watched for changes in the development mode.
Creating a REST Endpoint
Now let’s inject the "compiled" template into the resource class.
src/main/java/org/acme/qute/HelloResource.java.
package org.acme;

import javax.inject.Inject;
import javax.ws.rs.GET;
import javax.ws.rs.Path;
import javax.ws.rs.Produces;
import javax.ws.rs.QueryParam;
import javax.ws.rs.core.MediaType;

import io.quarkus.qute.TemplateInstance;
import io.quarkus.qute.Template;

@Path("hello")
public class HelloResource {

    @Inject
    Template hello;

    @GET
    @Produces(MediaType.TEXT_PLAIN)
    public TemplateInstance get(@QueryParam("name") String name) {
        return hello.data("name", name);
    }
}
- If there is no
@ResourcePathqualifier provided when using@Inject, the field name is used to locate the template. - The
Template.data()method returns a new template instance that can be customized before the actual rendering is triggered. In this case, we put the name value under the key name. The data map is accessible during rendering. - Note that we don’t explicitly trigger the rendering - this is done automatically by a special
ContainerResponseFilterimplementation.
Testing the Endpoint
With the application already running in Live Coding mode, we can render the template by calling the endpoint. In a new terminal, run the following command to invoke the endpoint:
curl http://localhost:8080/hello?name=Daniel
You should see:
Hello Daniel!
The template was rendered, replacing the {name} expression with the value passed in with hello.data("name", name);