Hello World
In this step, you will create a straightforward application serving a hello endpoint. To demonstrate dependency injection this endpoint uses a greeting bean.

Creating a basic project
mvn io.quarkus:quarkus-maven-plugin:2.16.3.Final:create \
-DprojectGroupId=org.acme \
-DprojectArtifactId=getting-started \
-DclassName="org.acme.quickstart.GreetingResource" \
-Dpath="/hello"
This will use the Quarkus Maven Plugin and generate a basic Maven project for you in the getting-started subdirectory, generating:
- The Maven structure
- An
org.acme.quickstart.GreetingResourceresource exposed on/hello - An associated unit test
- A landing page that is accessible at
http://localhost:8080after starting the application - Example Dockerfiles for a variety of build targets (native, jvm, etc)
- The application configuration file
Once generated, look at the getting-started/pom.xml. You will find the import of the Quarkus BOM, allowing you to omit the version on the different Quarkus dependencies. In addition, you can see the quarkus-maven-plugin responsible for the packaging of the application and also providing the development mode.
  <dependencyManagement>
    <dependencies>
      <dependency>
        <groupId>${quarkus.platform.group-id}</groupId>
        <artifactId>${quarkus.platform.artifact-id}</artifactId>
        <version>${quarkus.platform.version}</version>
        <type>pom</type>
        <scope>import</scope>
      </dependency>
    </dependencies>
  </dependencyManagement>
<dependencies>
  <dependency>
    <groupId>io.quarkus</groupId>
    <artifactId>quarkus-arc</artifactId>
  </dependency>
  <dependency>
    <groupId>io.quarkus</groupId>
    <artifactId>quarkus-resteasy-reactive</artifactId>
  </dependency>
  <dependency>
    <groupId>io.quarkus</groupId>
    <artifactId>quarkus-junit5</artifactId>
    <scope>test</scope>
  </dependency>
  <dependency>
    <groupId>io.rest-assured</groupId>
    <artifactId>rest-assured</artifactId>
    <scope>test</scope>
  </dependency>
</dependencies>
getting-started/src/main/java/org/acme/quickstart/GreetingResource.java file has been created with the following endpoint:
@Path("/hello")
public class GreetingResource {

    @GET
    @Produces(MediaType.TEXT_PLAIN)
    public String hello() {
        return "Hello from RESTEasy Reactive";
    }
}
/hello.Note: Compared to vanilla JAX-RS, with Quarkus there is no need to create an Application class. It’s supported but not required. In addition, only one instance of the resource is created instead of one per request. You can configure this using the different *Scoped annotations (ApplicationScoped, RequestScoped, etc.).
Running the Application
From within the project directory (the getting-started directory created by the maven call above), run the application using in Terminal:
mvn compile quarkus:dev -Dquarkus.http.host=0.0.0.0
__  ____  __  _____   ___  __ ____  ______
 --/ __ \/ / / / _ | / _ \/ //_/ / / / __/
 -/ /_/ / /_/ / __ |/ , _/ ,< / /_/ /\ \
--\___\_\____/_/ |_/_/|_/_/|_|\____/___/
INFO  [io.quarkus] (Quarkus Main Thread) getting-started 1.0.0-SNAPSHOT on JVM (powered by Quarkus x.x.x.Final) started in 1.194s. Listening on: http://0.0.0.0:8080
INFO  [io.quarkus] (Quarkus Main Thread) Profile dev activated. Live Coding activated.
INFO  [io.quarkus] (Quarkus Main Thread) Installed features: [cdi, resteasy-reactive, smallrye-context-propagation, vertx]
--
Tests paused, press [r] to resume, [h] for more options>
curl localhost:8080/hello
Hello from RESTEasy Reactive
Live Reloading
src/main/java/org/acme/quickstart/GreetingResource.java and change line 14 from:
Hello from RESTEasy Reactive
to
Hola from RESTEasy Reactive
Save the file, but don't restart the running Quarkus process in the first terminal. Run the curl command again:
curl localhost:8080/hello
Hola from RESTEasy Reactive
quarkus:dev maven target runs Quarkus in development mode. This enables live reload with background compilation, which means that when you modify your Java files and your resource files, these changes will automatically take effect. This will also listen for a debugger on port 5005. If your want to wait for the debugger to attach before running you can pass -Ddebug on the command line. If you don’t want the debugger at all, you can use -Ddebug=false.The Dev UI
http://localhost:8080/q/dev/
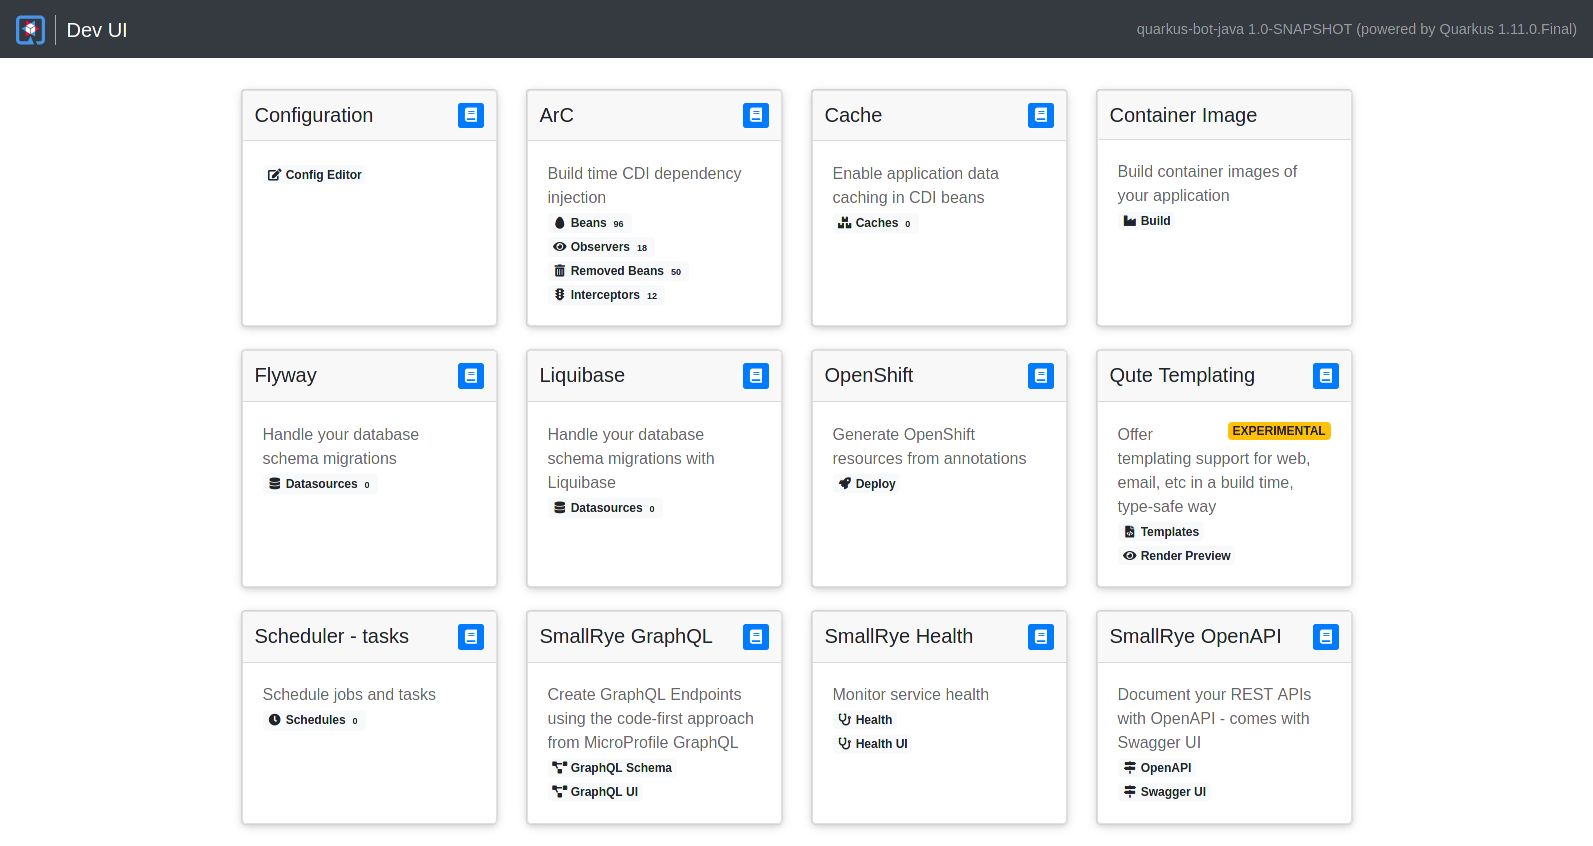
Note: The Dev UI is only enabled when in developer mode. It is not deployed when in production mode, as it's designed for developers to use during development. For more detail on what you can do, check out the [Dev UI Guide](https://quarkus.io/guides/dev-ui).
Next Steps